
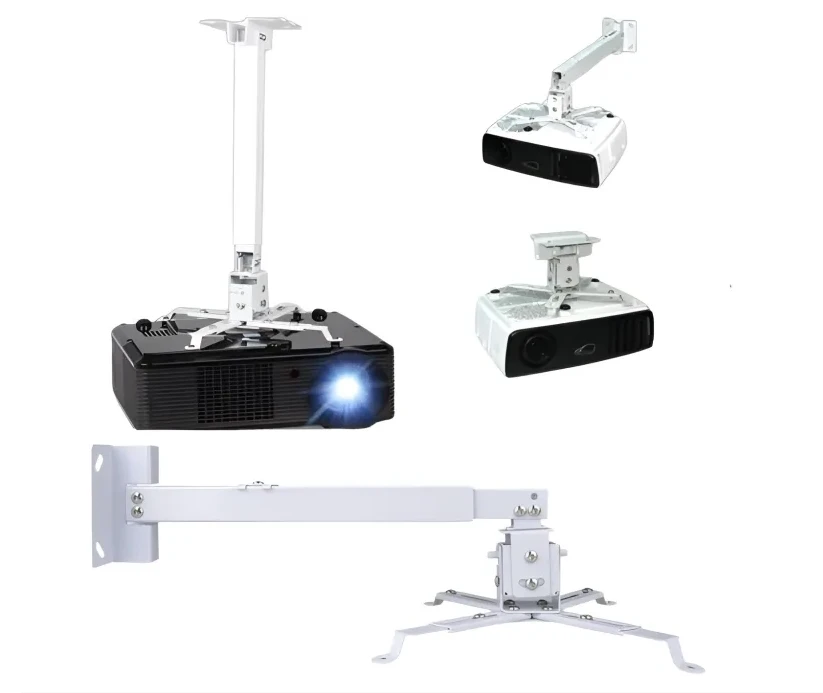
Generic PCM-02 Projector Ceiling Wall Mount Bracket
Use : To Secure a projector to a celling , wall , Or Other Surface
LKR 3,300
 Pay LKR 1,199.00 × 3 installments with KOKO
 Quick Overview
Availability:In stock
Brand:No Brand
What's in the box:1*
Weight:0.7 KG
100% Satisfaction Guaranteed
Use : To Secure a projector to a celling , wall , Or Other Surface
Product Details
Prepare the necessary tools: Gather all the required tools, including a drill, screwdriver, level, stud finder, measuring tape, pencil, and the mounting kit that comes with the projector mount.
Choose the mounting location: Select a suitable location on the ceiling for the projector. Ensure it is close to a power outlet and has a clear line of sight to the projection screen or wall.
Locate ceiling studs: Use a stud finder to locate ceiling studs. It's essential to mount the projector on a sturdy structure for stability and safety.
Mark the mounting holes: Place the projector mount bracket on the ceiling and use a pencil to mark the positions for the mounting holes. Make sure the bracket is level and aligned correctly.
Drill pilot holes: Use a drill bit slightly smaller than the screws provided in the mounting kit to drill pilot holes at the marked positions. This step prevents the ceiling from splintering when driving in the screws.
Attach the mount bracket: Securely attach the mount bracket to the ceiling using the screws provided in the kit. Ensure that the bracket is firmly fixed to the ceiling studs for stability.
Assemble the projector mount : Follow the instructions in the mounting kit to assemble the projector mount .
Attach the projector plate: Attach the plate to the bottom of your projector securely.
Connect the projector to the mount arm: Carefully place the projector on the mount arm and use the provided screws or brackets to secure it in place. Be cautious not to over-tighten, as it may damage the projector.
Adjust the projector alignment: Make sure the projector is aligned correctly to the projection screen or wall. Adjust the tilt, roll, and yaw as necessary to achieve the desired projection image.
Check for stability and safety: Once the projector is installed, ensure that all connections are secure and the mount is stable. Test the projector by turning it on and adjusting the image as needed.
Island-wide delivery
Best price
Seller selection
More from Seller
Related
Related Products
A10 smart android projector
LKR 34,750LKR 33,750
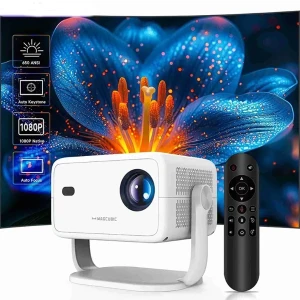
Magcubic L018 Portable 1080P Smart Projector
LKR 50,000LKR 45,000
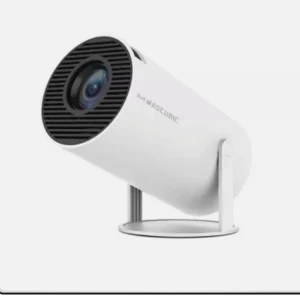
Generic Hy300 Android 4K Smart Projector
LKR 17,950
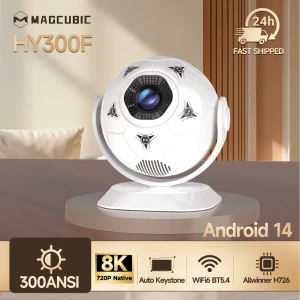
magcubic HY300F smart projector
LKR 22,500LKR 21,000
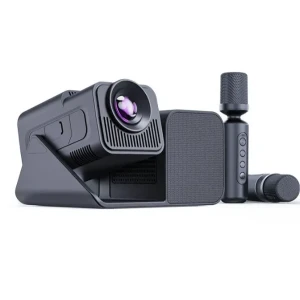
Hy360 plus karaoke stereo projector
LKR 39,650LKR 38,650
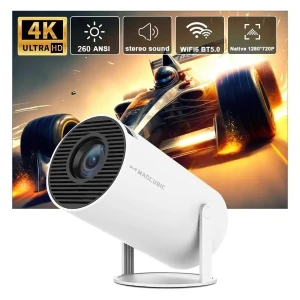
magcubic HY300pro projector
LKR 17,500LKR 16,000
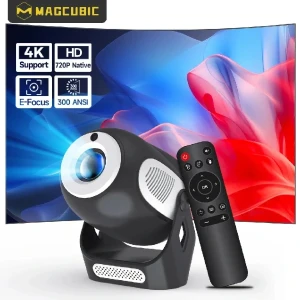
Magcubic HY300 X 4K 300Ansi Projector
LKR 27,000LKR 21,900
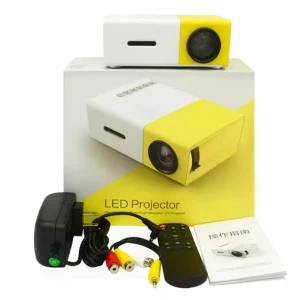
mini vedio projector
LKR 7,950
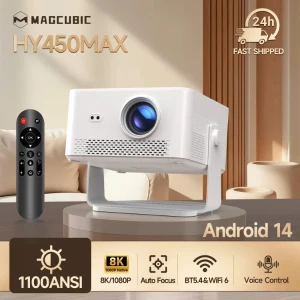
Magcubic HY450 MAX
LKR 79,000LKR 69,990
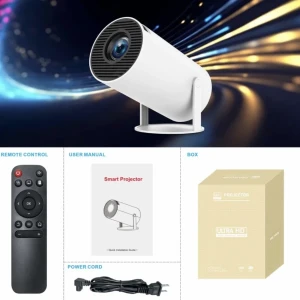
HY300 Android Projector
LKR 22,500
Generic PCM-02 Projector Ceiling Wall Mount Bracket
LKR 3,300
Pay LKR 1,199.00 × 3 installments with KOKO Quantity
- Weight0.7 KG
- Sold0
- BrandNo Brand
- StockIn stock
Short Description
Use : To Secure a projector to a celling , wall , Or Other Surface
Product Details
Prepare the necessary tools: Gather all the required tools, including a drill, screwdriver, level, stud finder, measuring tape, pencil, and the mounting kit that comes with the projector mount.
Choose the mounting location: Select a suitable location on the ceiling for the projector. Ensure it is close to a power outlet and has a clear line of sight to the projection screen or wall.
Locate ceiling studs: Use a stud finder to locate ceiling studs. It's essential to mount the projector on a sturdy structure for stability and safety.
Mark the mounting holes: Place the projector mount bracket on the ceiling and use a pencil to mark the positions for the mounting holes. Make sure the bracket is level and aligned correctly.
Drill pilot holes: Use a drill bit slightly smaller than the screws provided in the mounting kit to drill pilot holes at the marked positions. This step prevents the ceiling from splintering when driving in the screws.
Attach the mount bracket: Securely attach the mount bracket to the ceiling using the screws provided in the kit. Ensure that the bracket is firmly fixed to the ceiling studs for stability.
Assemble the projector mount : Follow the instructions in the mounting kit to assemble the projector mount .
Attach the projector plate: Attach the plate to the bottom of your projector securely.
Connect the projector to the mount arm: Carefully place the projector on the mount arm and use the provided screws or brackets to secure it in place. Be cautious not to over-tighten, as it may damage the projector.
Adjust the projector alignment: Make sure the projector is aligned correctly to the projection screen or wall. Adjust the tilt, roll, and yaw as necessary to achieve the desired projection image.
Check for stability and safety: Once the projector is installed, ensure that all connections are secure and the mount is stable. Test the projector by turning it on and adjusting the image as needed.
Island-wide delivery
Best price
Colombo-City, Colombo 01
Pronto LankaLKR 370
Cash On Delivery Available
Return & Warranty
7 Days Buyer ProtectionYour purchase is protected by Tudo.lk.
No reviews yet for this product.
PY
Pyramid Enterprises
Colombo 15Portable 2W 5V Solar Panel USB Battery Charger
0 (0)LKR 2,700
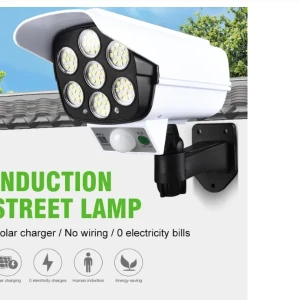
Generic Solar Sensor Light CCTV Camera with Motion Sensor
0 (0)LKR 1,900
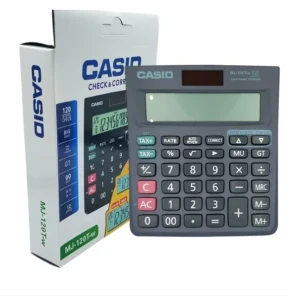
Casio MJ-120T-w 12-Digit Solar/Battery Calculator
0 (0)LKR 1,700
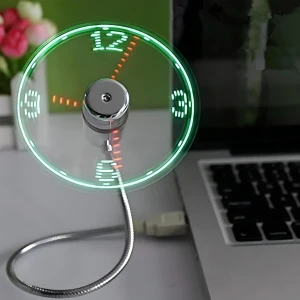
ONXE LED USB Clock Fan with Real Time Display
0 (0)LKR 2,500

OSK OSK-701 Electric USB-Powered Scalp Massager
0 (0)LKR 3,850

Generic Mini Electric Engraving Pen for DIY Crafts
0 (0)LKR 1,000

Noodle Making Machine, Electric Pasta Maker
0 (0)LKR 9,250

COCO CHANEL, EAU DE PARFUM EDP VAPORISATEUR 100 ML
0 (0)LKR 5,400

Gucci Pour Homme Eau De Toilette Spray 90ml/3oz
0 (0)LKR 5,650
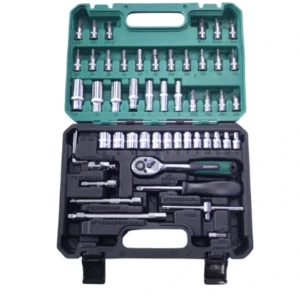
53 Pcs Household Tool Set
0 (0)LKR 5,000
A10 smart android projector
0 (0)LKR 33,750LKR 34,750
Magcubic L018 Portable 1080P Smart Projector
0 (0)LKR 45,000LKR 50,000
Generic Hy300 Android 4K Smart Projector
0 (0)LKR 17,950
magcubic HY300F smart projector
0 (0)LKR 21,000LKR 22,500
Hy360 plus karaoke stereo projector
0 (0)LKR 38,650LKR 39,650
magcubic HY300pro projector
0 (0)LKR 16,000LKR 17,500
Magcubic HY300 X 4K 300Ansi Projector
0 (0)LKR 21,900LKR 27,000
mini vedio projector
0 (0)LKR 7,950
Magcubic HY450 MAX
0 (0)LKR 69,990LKR 79,000
HY300 Android Projector
0 (0)LKR 22,500